Green Data Centers – How to Choose an Eco-Friendly IT Partner?
A Guide for Companies Looking for IT Providers Using Energy-Efficient Infrastructure and Renewable Energy
 Author:
Hey, today as Innokrea, we want to present to you a comprehensive guide to dockerizing React.js with Vite. If you want to have a development environment with hot-reload, working environment variables, and optimal 2-stage build with nginx for production, we invite you to read on.
Vite is a tool that allows serving our code during the development phase of our application locally, as well as building our project for production. Such code is optimized through proper packaging before delivering it to the user’s browser. Vite supports mechanisms like HMR (Hot Module Replacement), which allows reloading the application after code changes during its development, and allows for SSR (Server Side Rendering). Additionally, after changing the code during development, the entire application state is not reloaded, only the change we made in the code. Using Vite, installing new modules does not significantly increase the reload or build time of the project. In react.js, instead of create-react-app, it is increasingly recommended to use Vite.
We will start creating the project by executing the following commands:
mkdir innokrea
cd innokrea
npm init vite@5.2.3 frontend
cd frontend
npm install
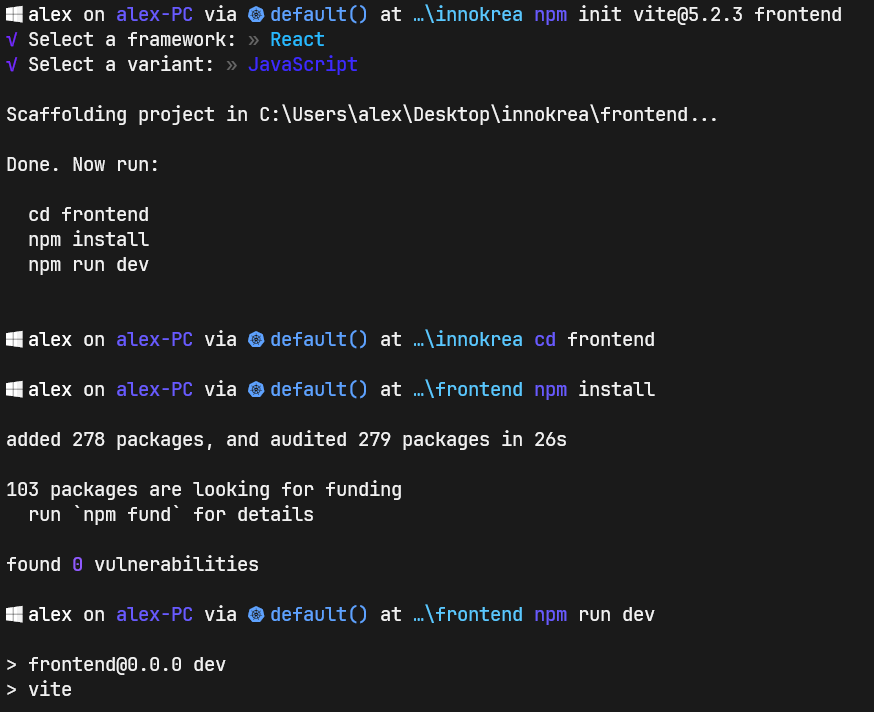
Figure 1 – Project Initialization based on Vite
The configuration for Vite is located in the vite.config.js file. Let’s try editing this file to define a different port, as well as other parameters, such as usePolling, which helps with dynamic detection of file changes, for example, in WSL (if someone is using Windows and Docker Desktop + WSL).
import { defineConfig } from "vite";
import react from "@vitejs/plugin-react";

export default defineConfig({
  plugins: [react()],
  server: {
    port: 3000,
    host: true,
    watch: {
       usePolling: true,
    },
  },
});
Next, let’s try running the application:
npm run dev
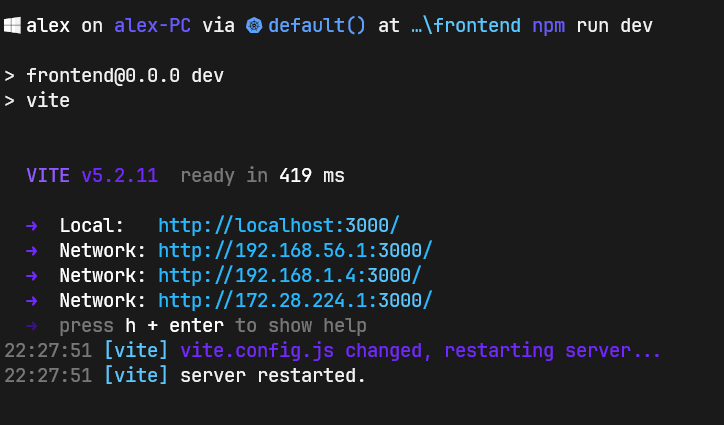
Figure 2 – Running Development Environment – Terminal
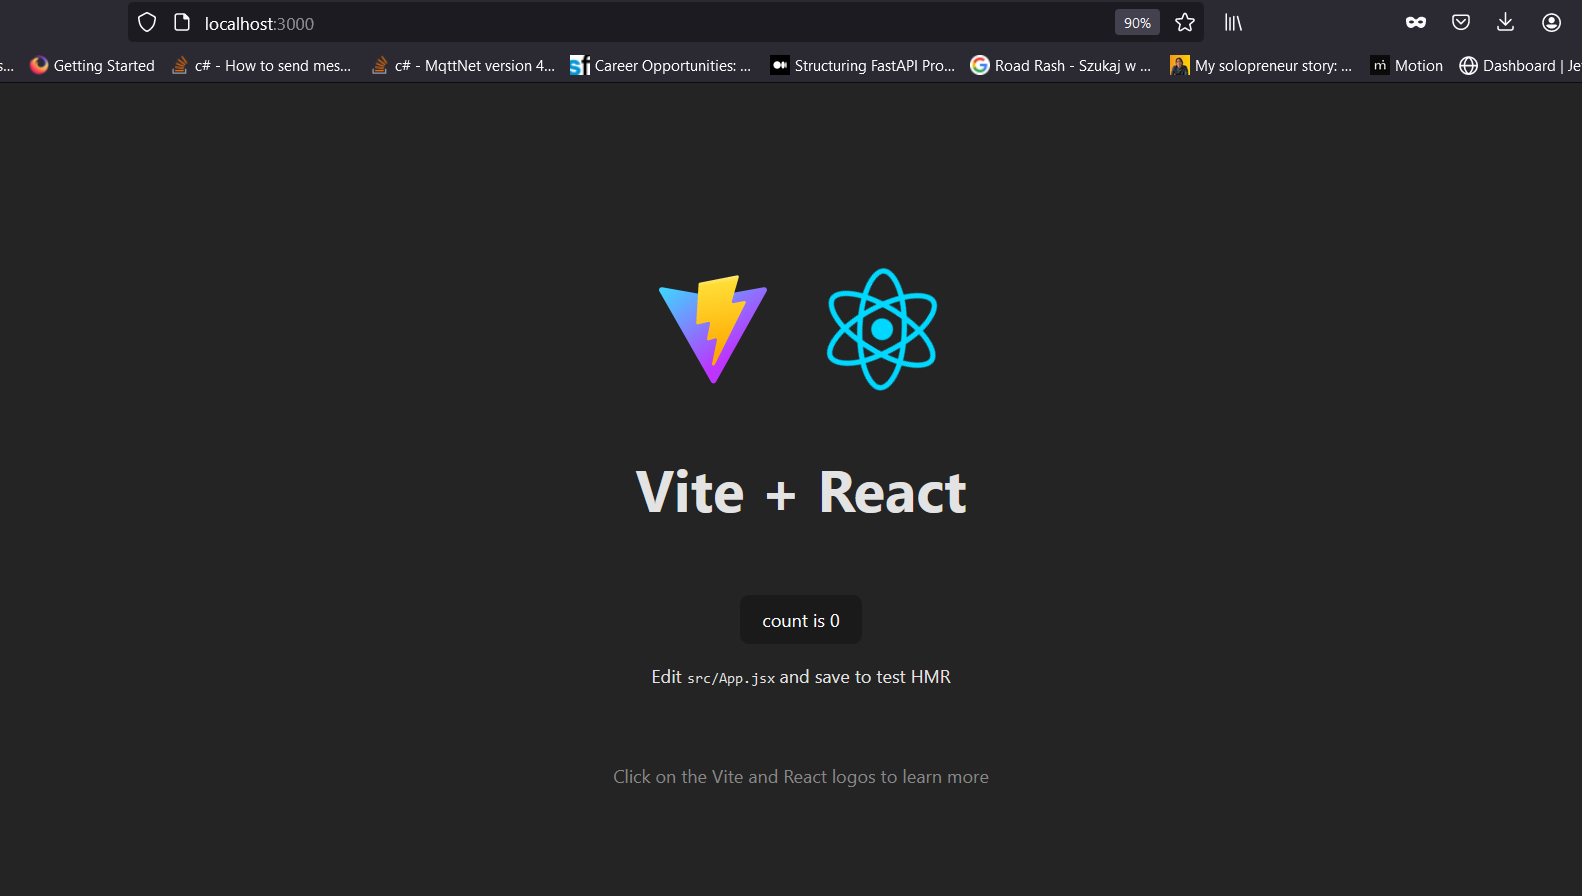
Figure 3 – Running Development Environment – Browser
Now let’s shut down the application and try adding a Dockerfile to the innokrea/frontend folder.
FROM node:20-alpine
WORKDIR /app
COPY package*.json .
RUN npm install
COPY . .
EXPOSE 3000
CMD ["npm", "run","dev"]
Now, in the innokrea folder, we will create a docker-compose-dev.yml file:
version: "3.9"
services:
 frontend:
   build:
     context: ./frontend
     dockerfile: Dockerfile
   container_name: frontend
   restart: always
   ports:
     - 3000:3000
   volumes:
     - ./frontend:/app
     - /app/node_modules
   environment:
     - VITE_APP_BACKEND_ADDRESS=http://localhost/api
   networks:
     - network
networks:
 network:
We define the context where our Dockerfile is located (it should be the frontend folder inside the innokrea folder), then a bind mount that will mount our code inside the container and the volume /app/node_modules to avoid errors related to installing node_modules inside the container. Then, we define the environment variable VITE_APP_BACKEND_ADDRESS. All variables we want to pass should start with the prefix VITE_. Let’s make sure our local server is turned off and try running the command:
docker-compose -f docker-compose-dev.yml up --build
In the terminal, we should see the successful build of the image and the creation of the container on port 3000.
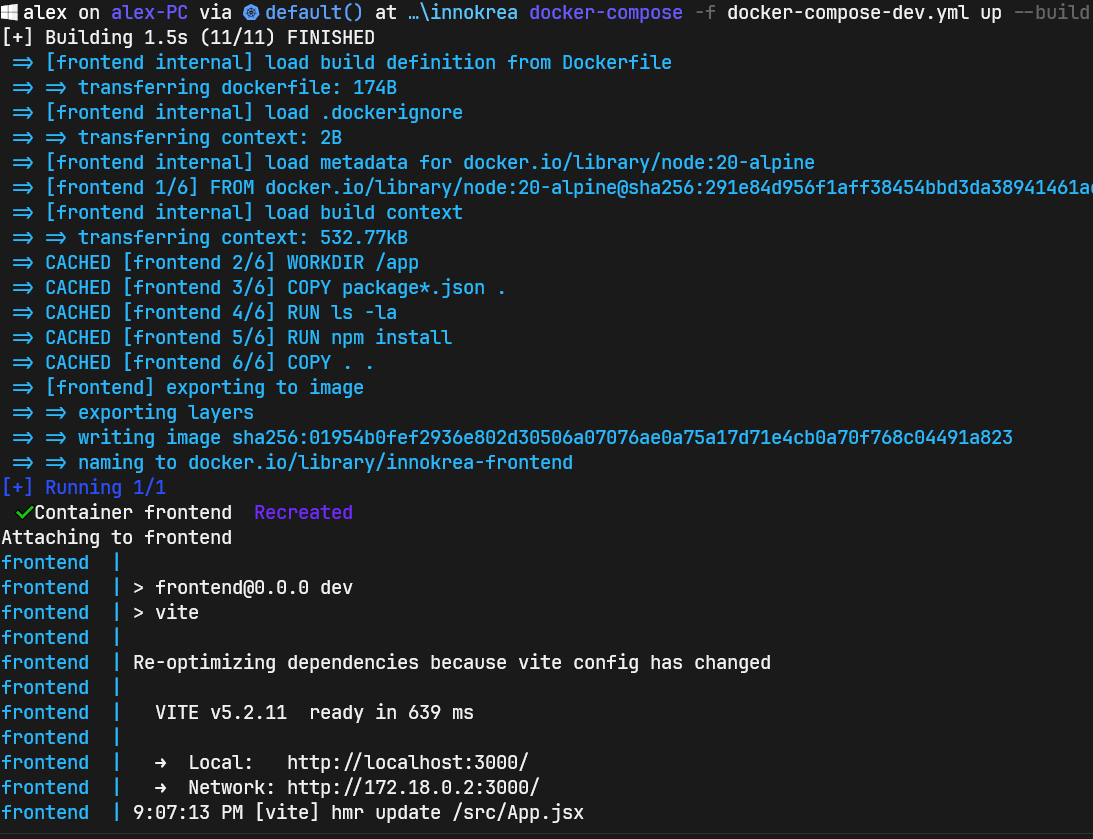
Figure 4 – Container Created from the Built Image
Let’s now try to check if editing the code will result in dynamic reloading. For this purpose, we can display the environment variable on the screen, which we defined within the docker-compose.yml file.
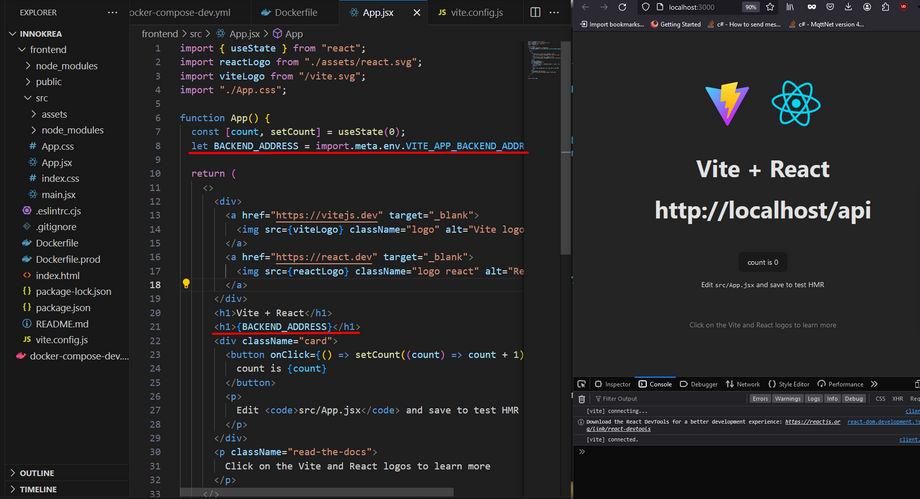
Figure 5 – Displaying the Environment Variable Defined in docker-compose
To create a production version of our project, we’ll start by modifying the vite.config.js file again as follows:
import { defineConfig, loadEnv } from "vite";
import react from "@vitejs/plugin-react";

export default defineConfig(({ command, mode }) => {
 const env = loadEnv(mode, process.cwd());
 return {
   plugins: [react()],
   server: {
     port: 3000,
     host: true,
     watch: {
      usePolling: true,
     },
     esbuild: {
      target: "esnext",
      platform: "linux",
    },
  },
  define: {
    VITE_APP_BACKEND_ADDRESS: JSON.stringify(env.VITE_APP_BACKEND_ADDRESS),
  },
 };
});
Next, in the frontend folder, we create a new file named Dockerfile.prod.
FROM node:20-alpine as builder
WORKDIR /app
COPY . .
ARG VITE_APP_BACKEND_ADDRESS
ENV VITE_APP_BACKEND_ADDRESS $VITE_APP_BACKEND_ADDRESS
RUN npm install
RUN npm run build

FROM nginx:1.25.4-alpine-slim as prod
COPY --from=builder /app/dist /usr/share/nginx/html
COPY nginx.conf  /etc/nginx/conf.d
EXPOSE 3000
CMD ["nginx", "-g", "daemon off;"]
The Dockerfile consists of two stages. The first one is the build stage, where we pass our environment variables as build args. The simplest way to use such variables in the code in a production environment is to pass them during the project build stage so that the compiler can resolve them and then place the resolved values into the running code. The command npm run build compiles our code using Vite (package.json defines build as vite build). In the second stage, we fetch the nginx image using the FROM command and copy the nginx.conf configuration file into the container. The nginx.conf file may look like this:
server {
 listen 3000;
 root   /usr/share/nginx/html;
 index  index.html;
 etag on;

 location / {
  try_files $uri $uri/ /index.html;
 }

 error_page   500 502 503 504  /50x.html;
 location = /50x.html {
  root   /usr/share/nginx/html;
 }
}
Both the nginx.conf file and Dockerfile.prod should be located in the path innokrea/frontend. In the innokrea/ path, we will now create a new file named docker-compose-prod.yml, which will use Dockerfile.prod.
version: "3.9"
services:
 frontend-prod:
   build:
     context: ./frontend
     dockerfile: Dockerfile.prod
     args:
       - VITE_APP_BACKEND_ADDRESS=https://localhost/api/prod
   container_name: frontend-prod
   restart: always
   ports:
     - 3000:3000
   networks:
     - network
networks:
 network:
It’s important to note that the environment variable is now provided during image building along with the build arguments, rather than using the environment section as in the development version. Also, the volumes have been removed, as they are not necessary in this case due to copying the entire code inside using Dockerfile.prod, and hot reload is not required in the production environment.
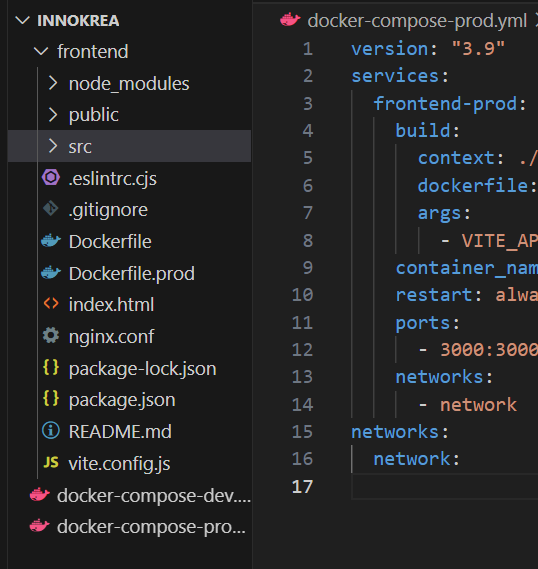
Figure 6 – Final file structure of the entire project
Before running, let’s try to modify our project somehow, for example, by adding the word ‘production’ to the h1 header in the App.jsx file.
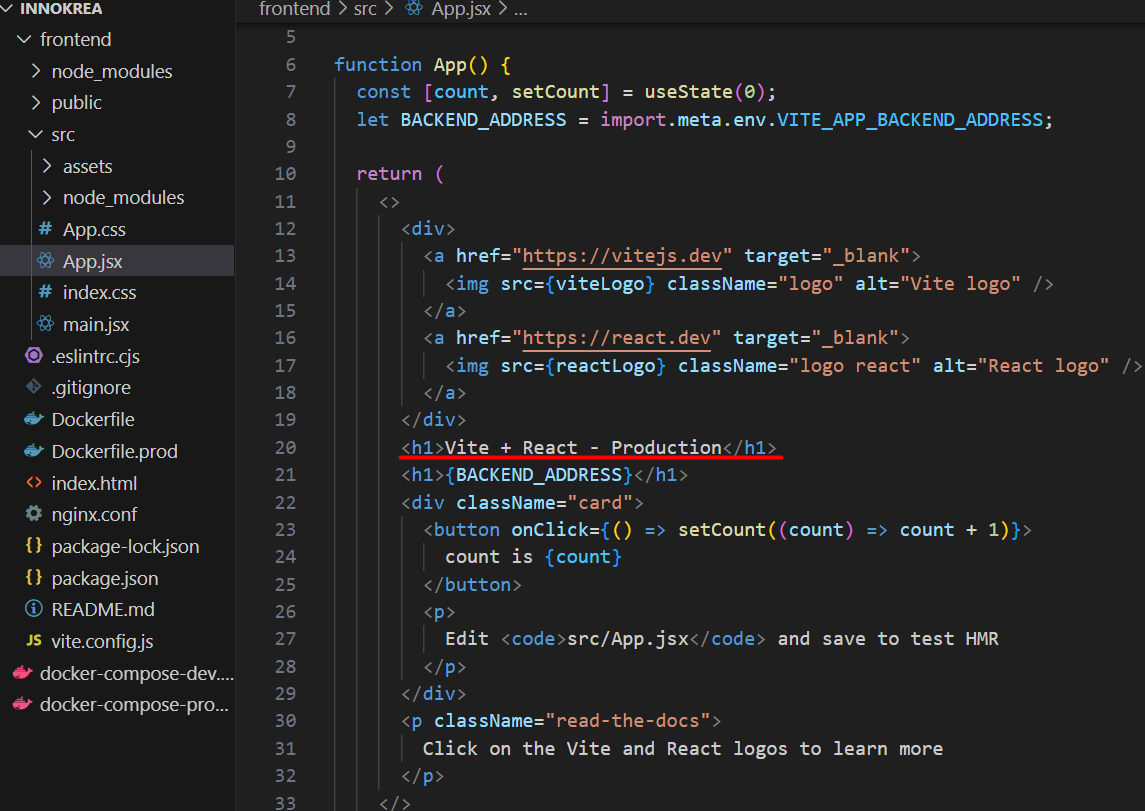
Figure 7 – Small modification of the App.jsx file
To run the project in the production version, we will execute the following commands:
docker-compose -f docker-compose-dev.yml down
docker-compose -f docker-compose-prod.yml up --build
We should see the following view.
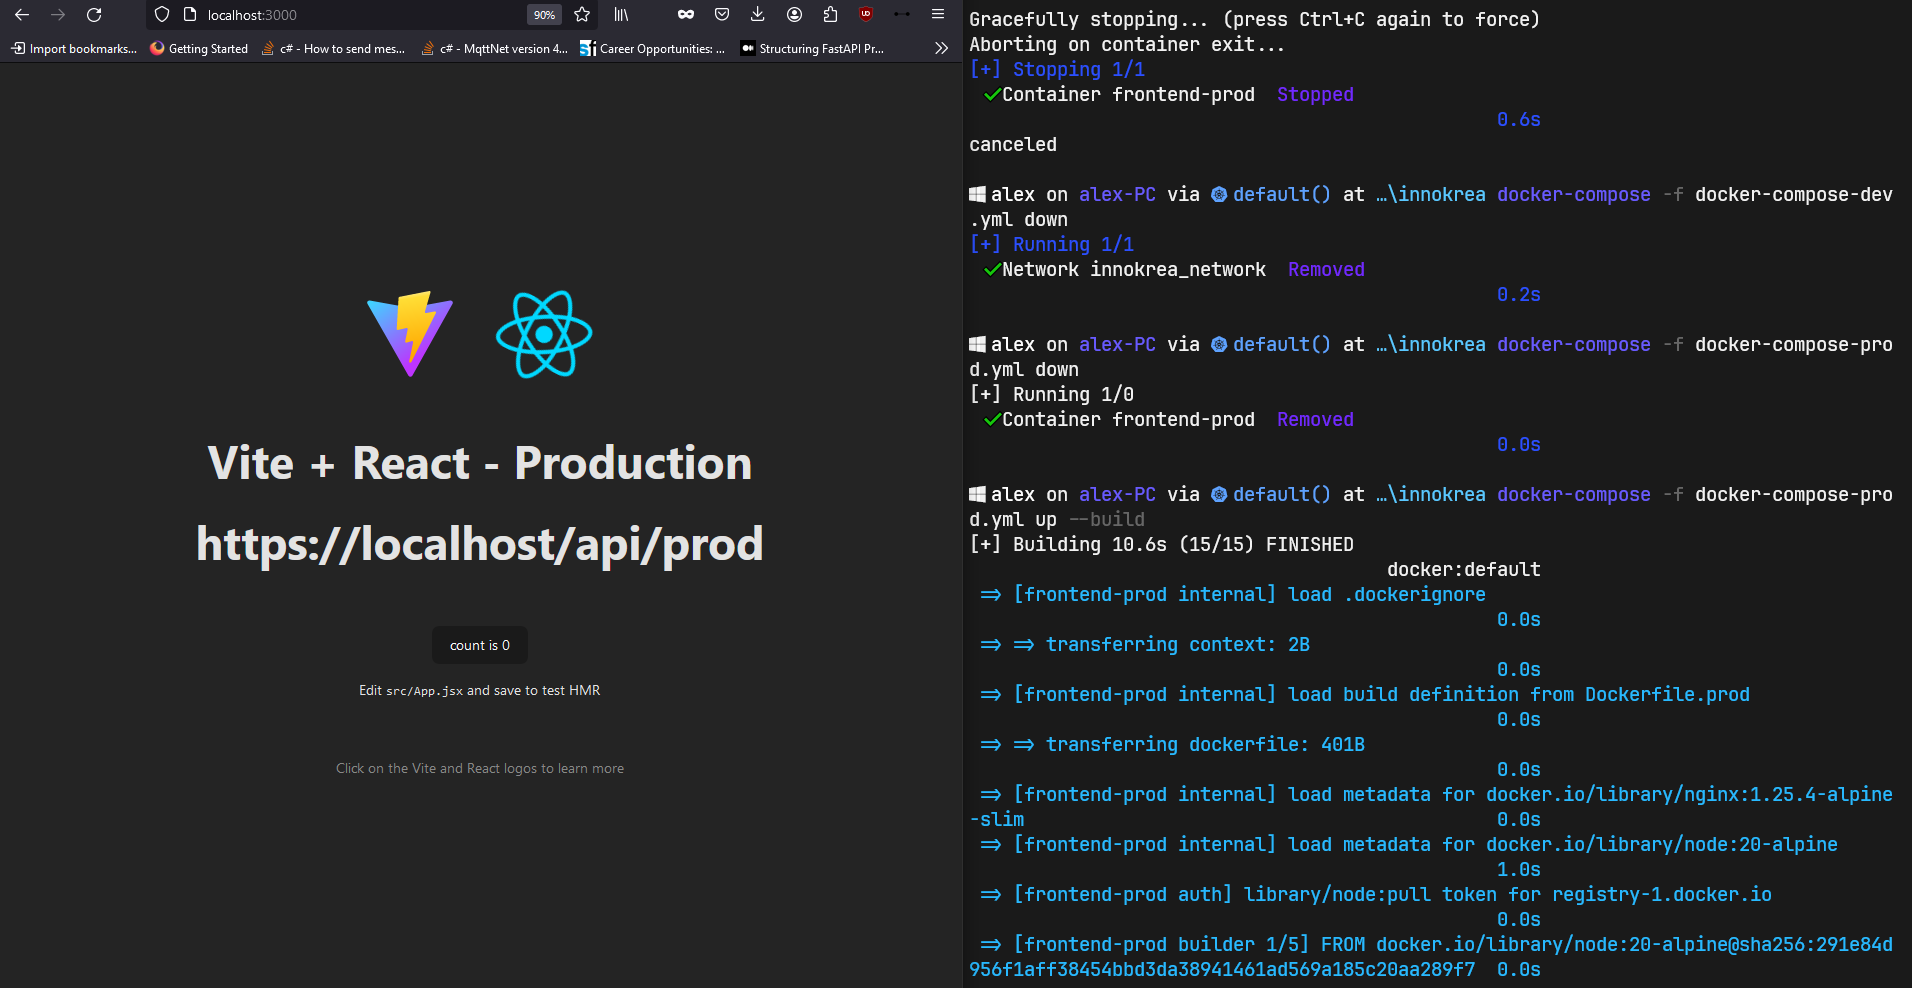
Figure 8 – Browser view and terminal after building the project in production version
Today, we managed to create a project based on Vite, React, Docker, and Nginx technologies. Thanks to this, you can create your own development environment and program efficiently with hot-reload functionality using Docker, and deploy an optimal production version based on 2-stage-build and nginx. If you are interested in Docker, we recommend our articles on this topic:
https://www.innokrea.com/docker-how-to-simplify-running-and-deploying-applications-part-1/
https://www.innokrea.com/docker-do-it-right-and-securely-part-1/
See you next week!

Green Data Centers – How to Choose an Eco-Friendly IT Partner?
A Guide for Companies Looking for IT Providers Using Energy-Efficient Infrastructure and Renewable Energy
Green IT

Helm for the Second Time – Versioning and Rollbacks for Your Application
We describe how to perform an update and rollback in Helm, how to flexibly overwrite values, and discover what templates are and how they work.
AdministrationInnovation
Helm – How to Simplify Kubernetes Management?
It's worth knowing! What is Helm, how to use it, and how does it make using a Kubernetes cluster easier?
AdministrationInnovation