Responsible Software Development: How to Reduce Your Application’s Carbon Footprint?
Practical tips on how developers can actively reduce CO2 emissions by optimizing code, infrastructure, and application architecture.
 Author:
Welcome back! Today, as Innokrea, we will show you how you can create your own project in Python using FastAPI and MongoDB. We will also show you how to add tests and ensure that everything works correctly in Docker. If you’re curious, we invite you to read on!
REST API is one of the most popular client-server architecture types used in applications today, defining how resources can be available on the network and transmitted over the Internet. Its most important features are statelessness, an interface usually accessible via the HTTP protocol, and resource identification through URIs. REST API implementation utilizes frameworks available in many languages such as Java (e.g., Spring), JavaScript (e.g., express.js), or Python (e.g., Django or FastAPI).
If you want to read about the best practices in designing REST APIs, we encourage you to read the article from the Stack Overflow blog below.
https://stackoverflow.blog/2020/03/02/best-practices-for-rest-api-design/
FastAPI is one of the most popular frameworks written in the Python language. It’s not the fastest solution available on the market, but it’s one of the fastest in Python. Thanks to its simplicity, FastAPI increases the speed of software development and reduces the chance of mistakes by the developer.
Let’s start by creating a folder called “innokrea,” and within it, a folder named “rest” where we will place our project.

Figure 1 – Project Creation
We’ll start by creating two folders, “app” and “tests,” as well as Dockerfile and requirements.dev files. We’ll run the entire solution in a Docker environment from the start, even during application development, to make installation easy for everyone.
The folder structure should look like this:
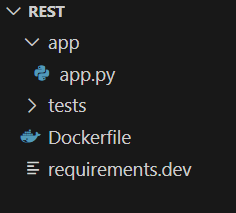
Figure 2 – Folder Structure of Our Project
The content of the Dockerfile files should look like this:
FROM python:3.11-slim
ENV PYTHONDONTWRITEBYTECODE 1
ENV PYTHONUNBUFFERED 1
WORKDIR /app
COPY requirements.dev /app/
RUN apt-get update && \
    pip install --no-cache-dir -r requirements.dev
COPY ./app /app/
WORKDIR /
EXPOSE 8000
CMD ["uvicorn", "app.app:app", "--host", "0.0.0.0", "--port", "8000","--reload"]
And the requirements.dev file like that:
annotated-types==0.6.0
pydantic==2.4.2
uvicorn==0.23.2
fastapi==0.103.1
pymongo==4.6.2
pyjwt==2.8.0
passlib==1.7.4
httpx==0.27.0
asyncio==3.4.3
#Testing requirements
pytest==7.1.3
setuptools==69.2.0
mongomock==4.1.2
freezegun==1.4.0
mock==5.1.0
Contents of the app.py file:
from fastapi import FastAPI

app = FastAPI()
@app.get("/test")
async def test_endpoint():
 return {"message": "This is a test endpoint!"}
Now, to run the project, we will create another file named docker-compose-dev.yml, which will be responsible for building our image. We will also create a bind mount to dynamically reload code instead of rebuilding the image after each edit.
version: "3.9"
services:
 rest-service:
   build:
     context: .
     # Dev version of Dockerfile
     dockerfile: Dockerfile
   container_name: rest-service
   restart: always
   ports:
     - "8000:8000"
   volumes:
     - ./app:/app
   networks:
     - network
networks:
 network:
After executing the following command, we should see a response from FastAPI in the browser at localhost:8000/test.
docker-compose -f docker-compose-dev.yml up --build
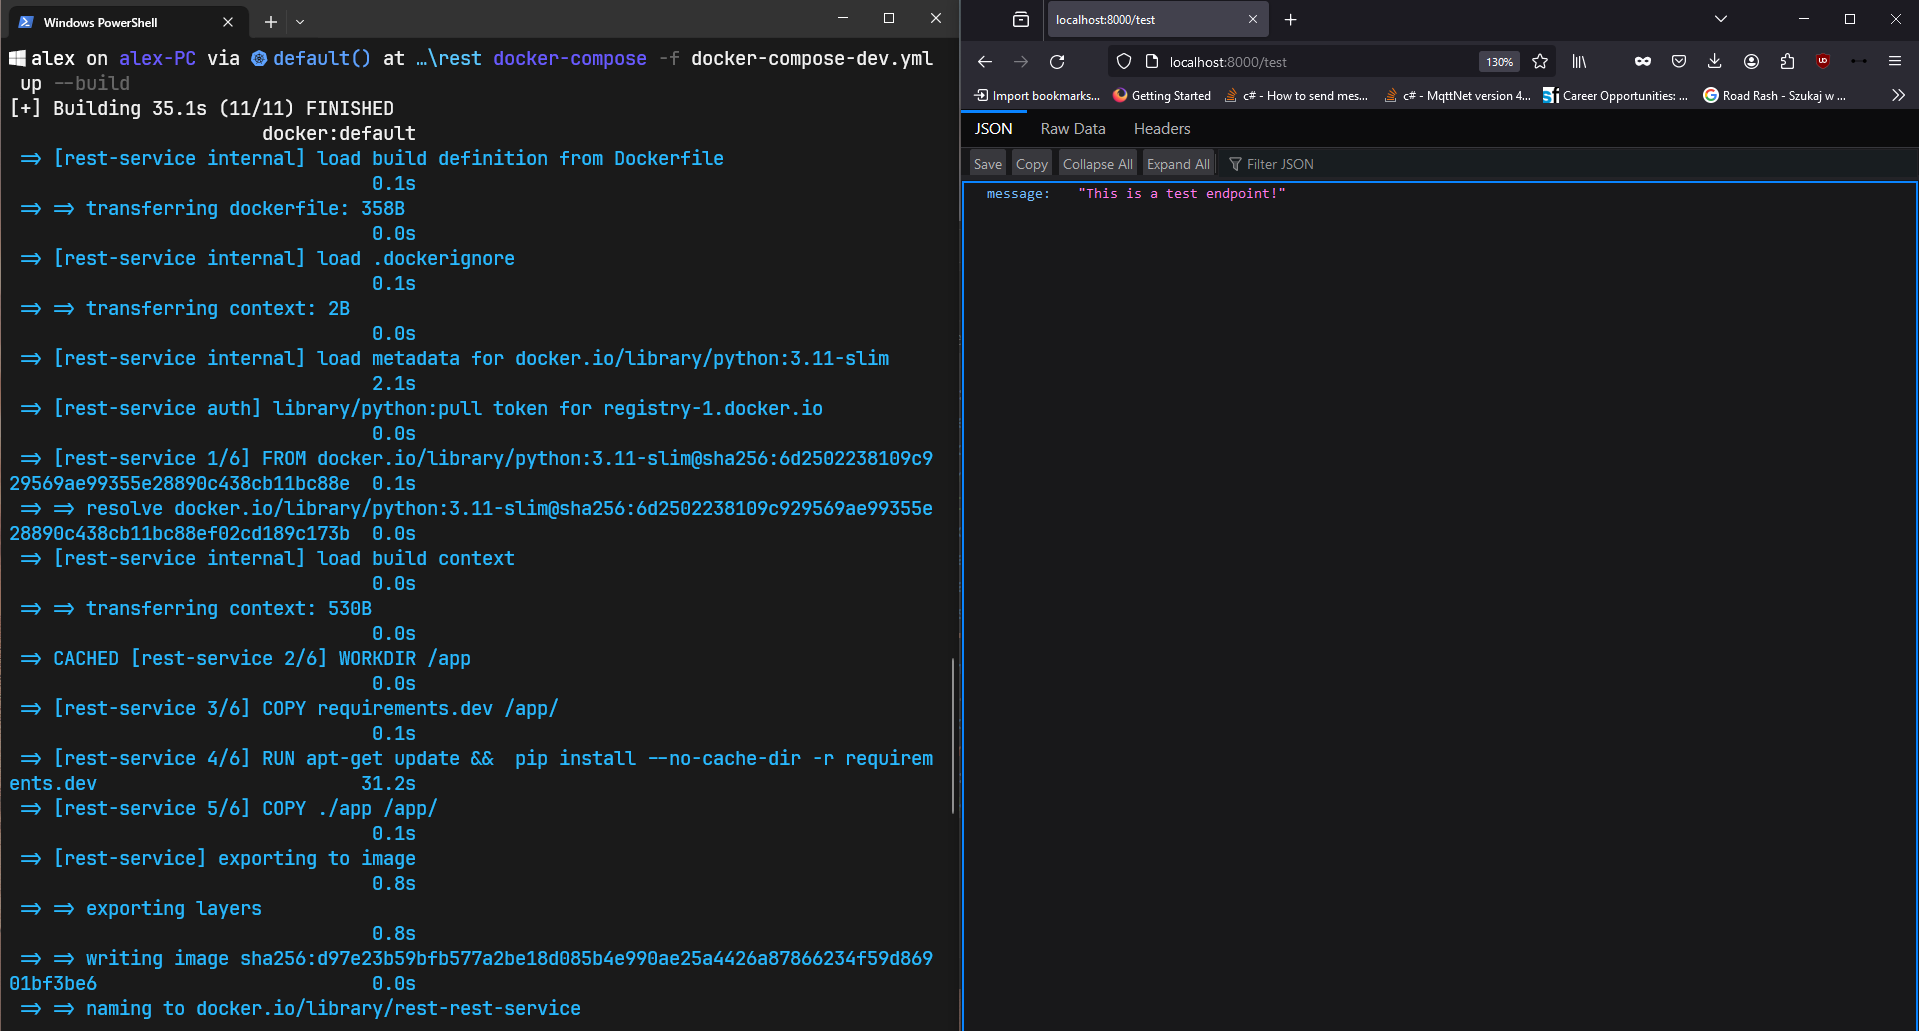
Figure 3 – Working Application
Additionally, when editing the code, our application should automatically reload.
We have a basic development environment ready, but what kind of application are we going to build? We’ll try to run a database and create a simple application allowing user registration and login. To start, we’ll propose a layered architecture for the application to separate the responsibilities into several sections related to request handling, business logic, and data.

Figure 4 – Layered Architecture of Our Application, source [1]
Let’s create a folder structure that will help us build this layered architecture. We’ll have the following divisions:
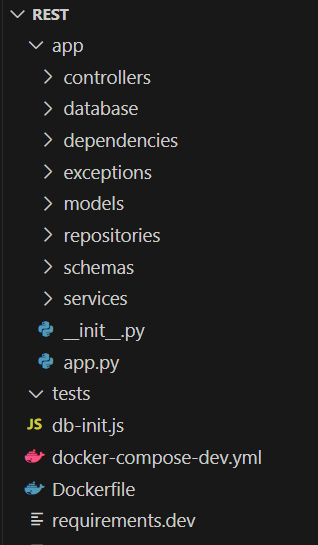
Figure 5 – Folder Structure in Our Application
Now, let’s proceed to create the database that we will use to store users. For this purpose, we will again use Docker and the MongoDB database, along with the pymongo library.
So, let’s add the following script to initialize the database to the ‘rest’ folder, named db-init.js.
db = db.getSiblingDB("db");
db.createCollection("users");
db.users.insertMany([{
 email: "aaa@aaa.com",
 role: "user",
 password_hash: "9c520caf74cff9b9a891be3694b20b3586ceb17f2891ceb1d098709c1e0969a3",
},{
 email: "bbb@bbb.com",
 role: "user",
 password_hash: "77cd27bc3de668c18ed6be5f5c2909ffdacdf67705c30d132003ad5a89085deb",
},]);
The password for each user is the same as the login. Next, let’s paste the modified docker-compose-dev.yml file which adds the database on port 27017 and an administrative panel for this database on port 8080. We have also added the necessary environment variables for the project.
version: "3.9"
services:
 rest-service:
   build:
     context: .
     # Dev version of Dockerfile
     dockerfile: Dockerfile
   container_name: rest-service
   restart: always
   environment:
     - WATCHFILES_FORCE_POLLING=true
     - DB_HOSTNAME=db
     - DB_USERNAME=root
     - DB_PASSWORD=root
     - DB_PORT=27017
     - DB_NAME=db

     # JWT CONF
     - JWT_TOKEN_ALG=HS256
     - JWT_REFRESH_TOKEN_SECRET_KEY=refreshsecret
     - JWT_ACCESS_TOKEN_SECRET_KEY=accesssecret
     - JWT_ACCESS_TOKEN_EXPIRE_MINUTES=10080
     - JWT_REFRESH_TOKEN_EXPIRE_MINUTES=30
   ports:
     - "8000:8000"
   volumes:
     - ./app:/app
   networks:
     - network
 db:
   image: bitnami/mongodb:7.0.7-debian-12-r0
   container_name: db
   restart: always
   environment:
     - MONGODB_REPLICA_SET_MODE=primary
     - MONGODB_REPLICA_SET_KEY=123456
     - ALLOW_EMPTY_PASSWORD=yes
     - MONGODB_ROOT_USER=root
     - MONGODB_ROOT_PASSWORD=root
   healthcheck:
     test: echo 'db.runCommand("ping").ok' | mongosh localhost:27017/db --quiet
     interval: 10s
     timeout: 10s
     retries: 3
     start_period: 20s
   volumes:
     - ./db-init.js:/docker-entrypoint-initdb.d/initialize.js
   networks:
     - network

 adminpanel-db:
   image: mongo-express:1.0.2-20-alpine3.19
   container_name: adminpanel-db
   restart: always
   depends_on:
     - db
   ports:
     - "8080:8081"
   environment:
     - ME_CONFIG_MONGODB_SERVER=db
     - ME_CONFIG_MONGODB_URL=mongodb://root:root@db:27017/
     - ME_CONFIG_MONGODB_AUTH_USERNAME=root
     - ME_CONFIG_MONGODB_AUTH_PASSWORD=root
     - ME_CONFIG_MONGODB_PORT=27017
   # to login to panel use: admin/pass
   networks:
     - network

networks:
 network:
Now, let’s try to restart our application using docker-compose-dev.yml and the following commands:
docker-compose -f docker-compose-dev.yml down
docker-compose -f docker-compose-dev.yml up --build
We should be able to see the initialized collection at localhost:8080 (admin/pass to log in).
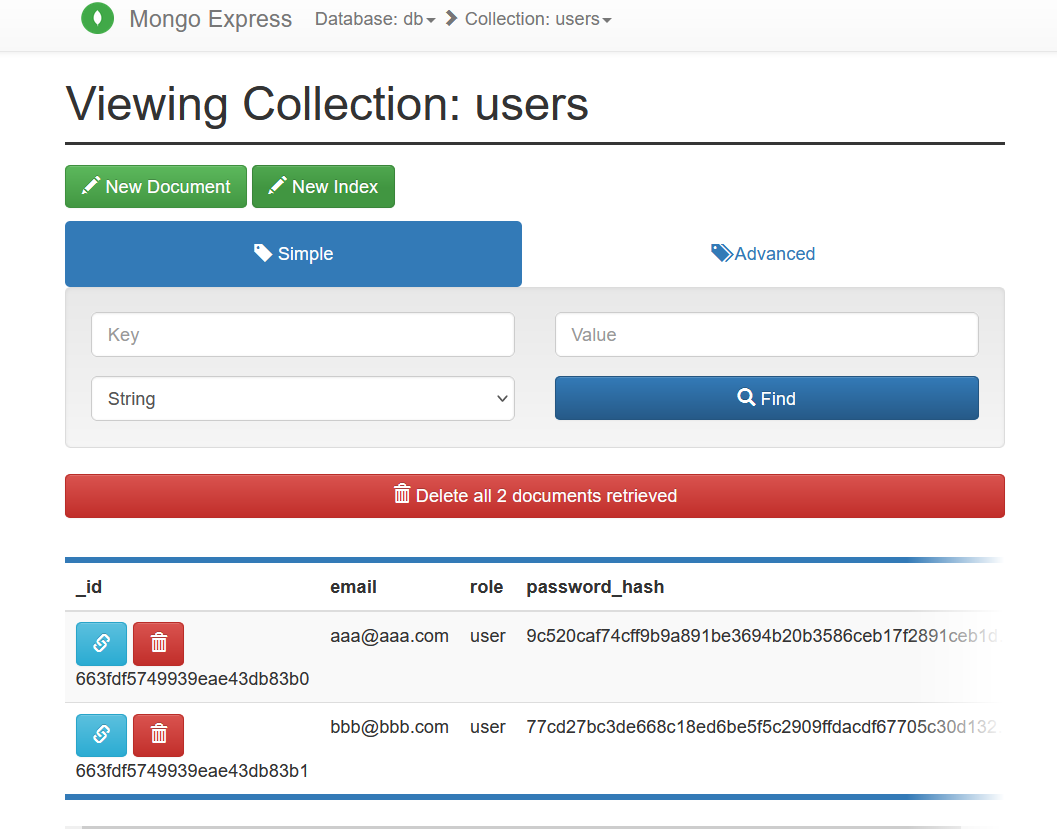
Figure 6 – View of the initialized collection in the admin panel
Today, we managed to create the basic configuration of our environment consisting of FastAPI, a database, and an admin panel. Next week, we’ll try to expand our application and fill the created folders with code files. See you then!
[1] https://dev.to/blindkai/backend-layered-architecture-514h

Responsible Software Development: How to Reduce Your Application’s Carbon Footprint?
Practical tips on how developers can actively reduce CO2 emissions by optimizing code, infrastructure, and application architecture.
Green ITInnovation

Green IT: How Technology Can Support Environmental Protection?
An introduction to the idea of Green IT – a strategy that combines technology with care for the planet.
Green ITInnovation

CI/CD + Terraform – How to Deploy Your Application on AWS? – Part 2
Learn about the possibilities of GitHub Actions - how to quickly deploy an application using GitHub Actions using AWS and Terraform technologies.
AdministrationProgramming